
MultiSafe: Step-by-Step Tutorial in 12 minutes
MultiSafe is a shared crypto treasury for managing Bitcoin (BTC), Stacks (STX) and NFTs. In this video tutorial I show you how to create and manage your own MultiSafe.

In this video tutorial I show you how to create and manage your own MultiSafe.
MultiSafe: Step-by-Step Tutorial
1. Create a new MultiSafe

Create a new MultiSafe:
Safe Name: Choose a name
Owners: Set your owners (Note: “.btc” names will only resolve on mainnet).
Confirmation threshold: Set the number of signatures necessary to approve withdraws. For example, “2 out of 3” owners will need at least 2 confirmations to withdrawn assets.
Review: Looks good?
Done: Submit your contract to the STX blockchain. You’ll need to pay a small amount of gas in STX to secure it on the blockchain.
2. Deposit Coins

Click “DEPOSIT” to send STX, USDA, ALEX, MIA, NYC or any other available token from your Hiro Wallet into MultiSafe.
Do you plan to create your own token? If so you can go to StacksSwap (decentralized), or ALEX (you’ll need to work with the ALEX team directly) where you’ll want to launch a SIP-010 token.
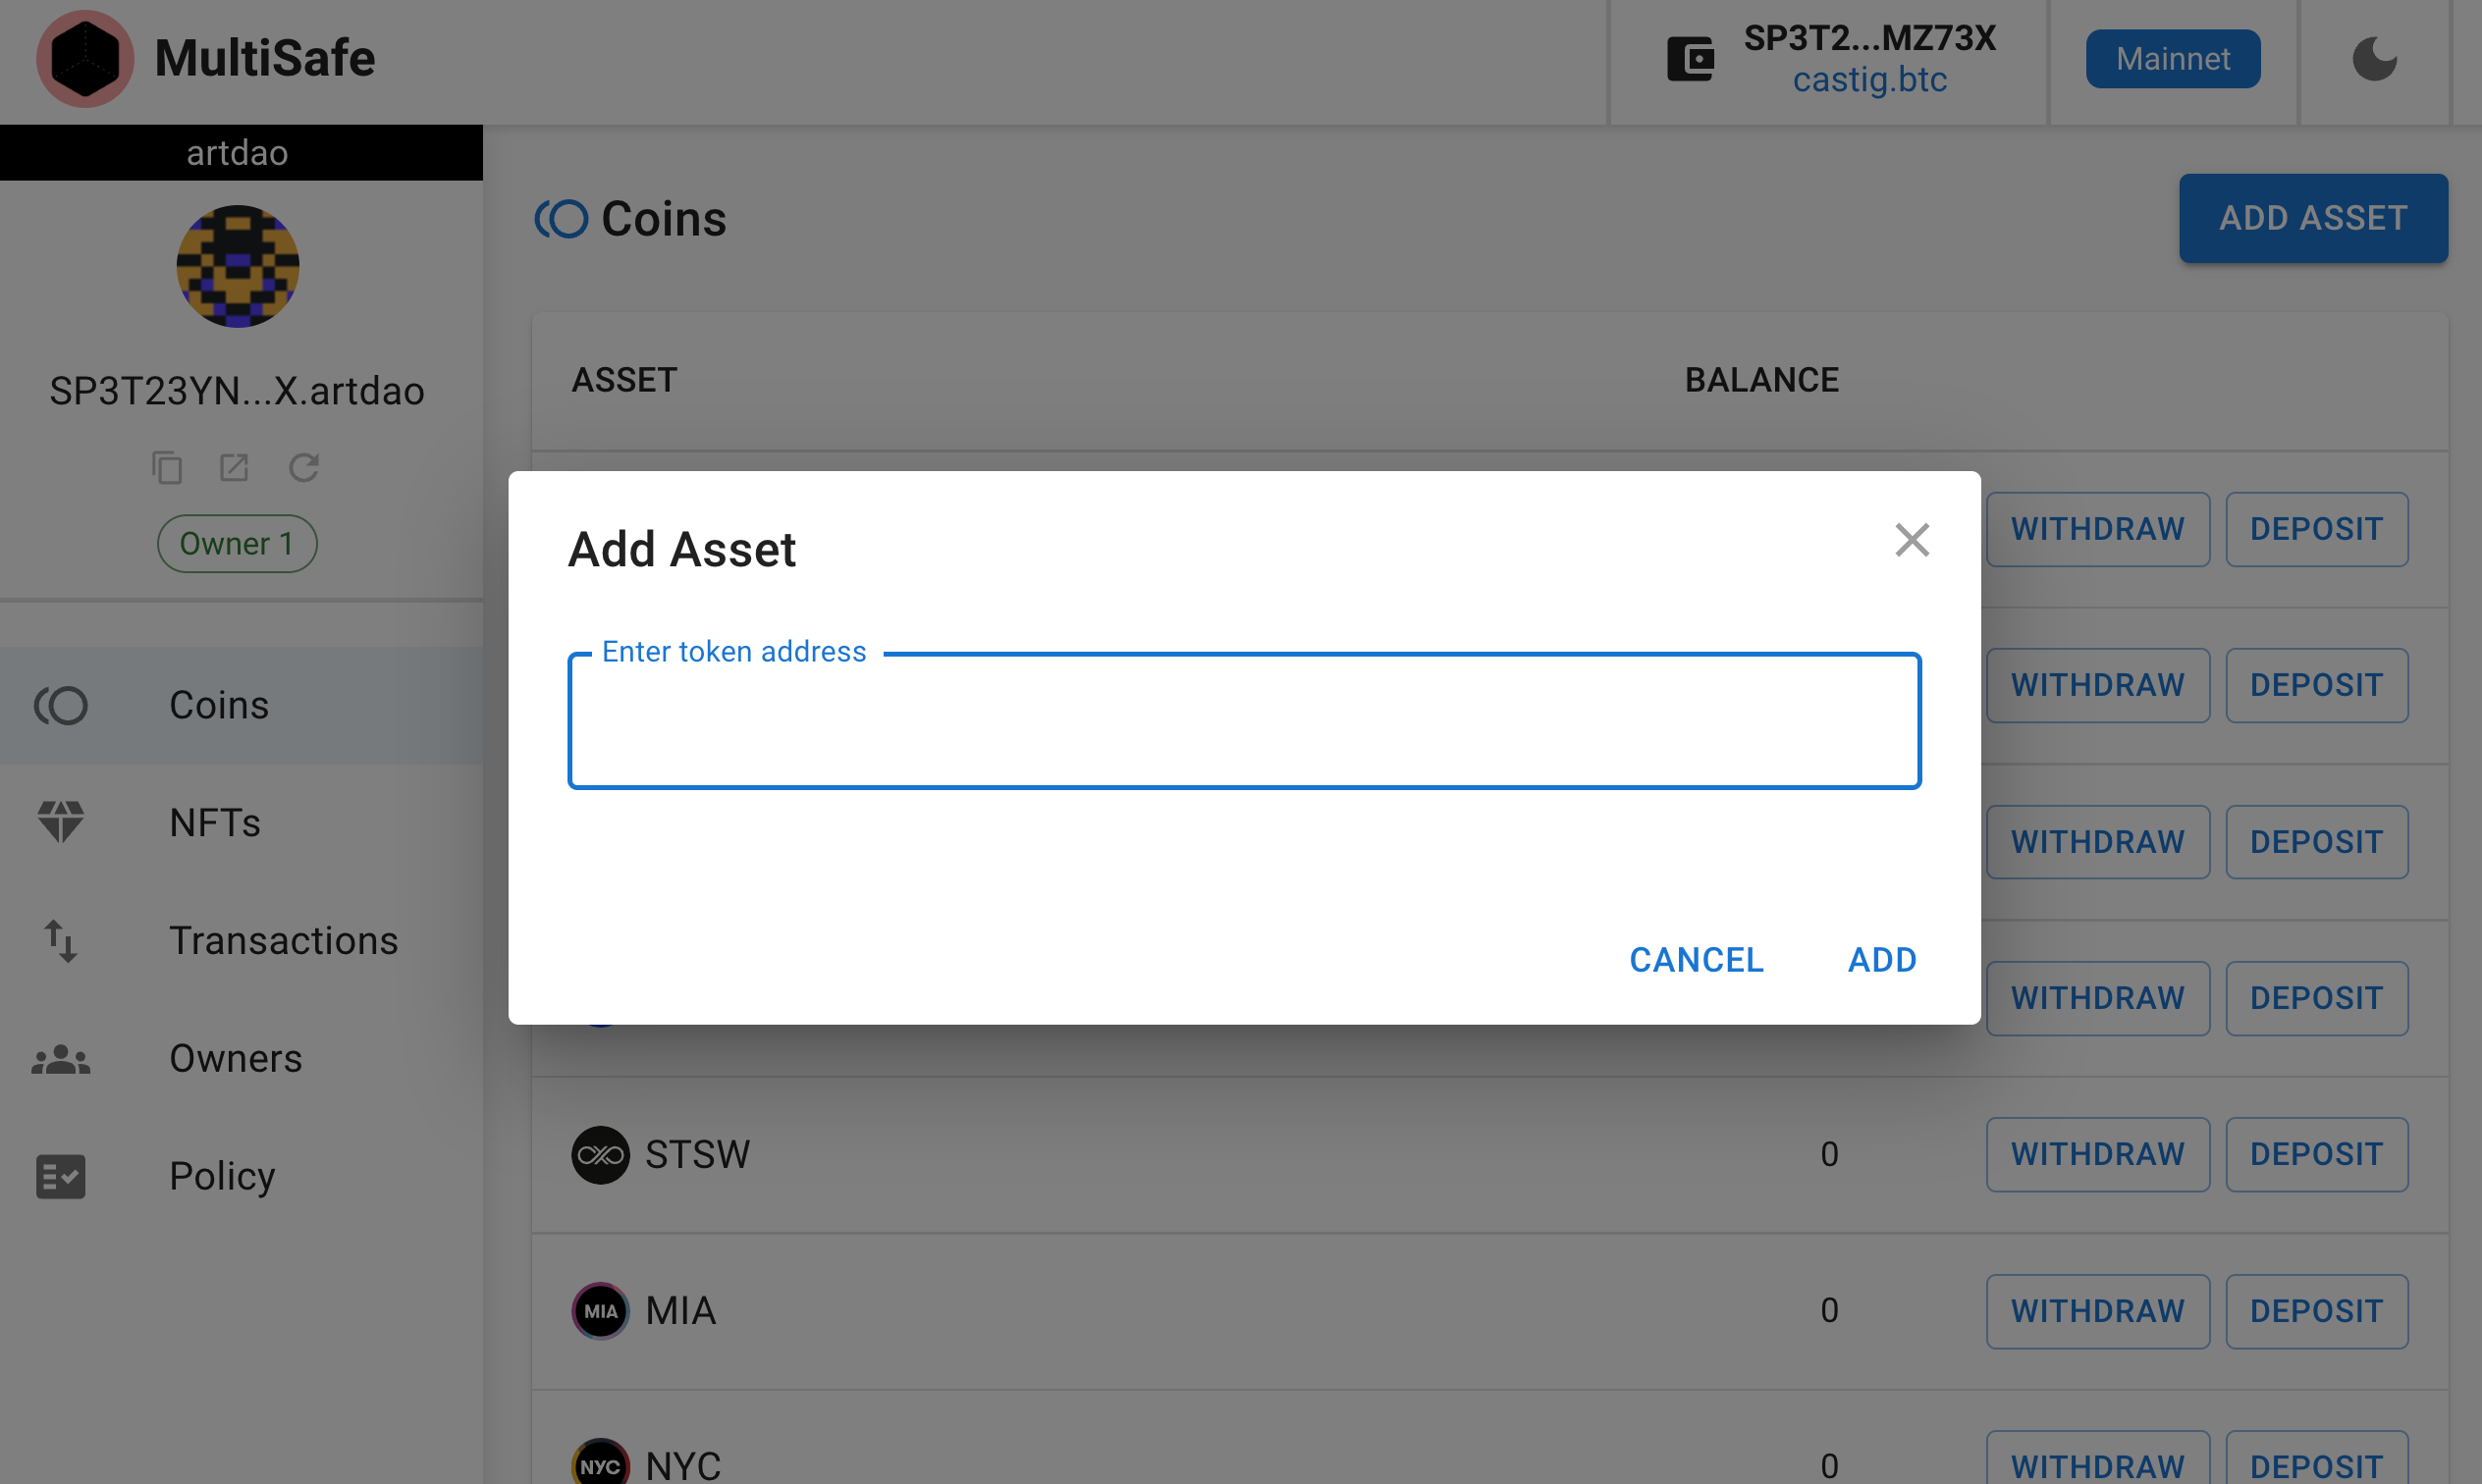
MultiSafe can store any SIP-010 token (aka. any Stack compatible tokens).
From there, just click “ADD ASSET” and paste your Clarity contract address into MultiSafe. See the image above for more detail.
3. Deposit NFTs

You can deposit NFTs directly into a MultiSafe.

Want to add an NFT collection to MultiSafe? You can.

Visit any Stacks NFT marketplace (Gamma.io, Byzanation, HeyLayer, etc).
Locate the NFT collection you want to include. For example, go to Gamma and choose Essence of Life.
Find the “contract” button and then visit the contract page on Stacks Explorer.
In the Stacks Explorer copy the “contract name”
Back in MultiSafe, click “ADD ASSET.” Paste in the “contract name,” and click “ADD”
Now you’ll see the NFT collection appear in your MultiSafe!
4. Approve Transactions
If I make a withdrawal, here’s what I’ll see:

Here’s what my 2nd owner Mandy will see:

Mandy will need to “CONFIRM” the transaction in order for the transaction to be sent.
Feels slow? Be patient, the transactions will likely take about 10 minutes to be submitted to the blockchain and therefore viewable by MultiSafe. Once you see the transaction you can decide to “confirm” or “revoke.”
5. Add Owners

Want to add more owners? Remove owners? Not a problem.
Click “ADD OWNERS.”
Based on your “policy” additional owners may also need to approve transactions to edit the owner list.
Final thoughts
I hope you enjoyed this MulitSafe tutorial. Go to app.MultiSafe.xyz to create your first safe.
Please reach out on Twitter @MultiSafexyz if you have any questions. We’d love to hear from you.